
Charm & Prey
Charms are additional bonuses unlocked with  charm points. A selected bonus can be assigned to only one monster at a time, provided that its Bestiary entry has been fully unlocked. You can pay gold to remove the current assignment and assign it again.
Bestiary
The Bestiary is a catalog of monsters encountered in the game, available in the Cyclopedia (20 categories). Initially, each category shows only black monster silhouettes. Killing more creatures of a given type gradually unlocks additional information about them.
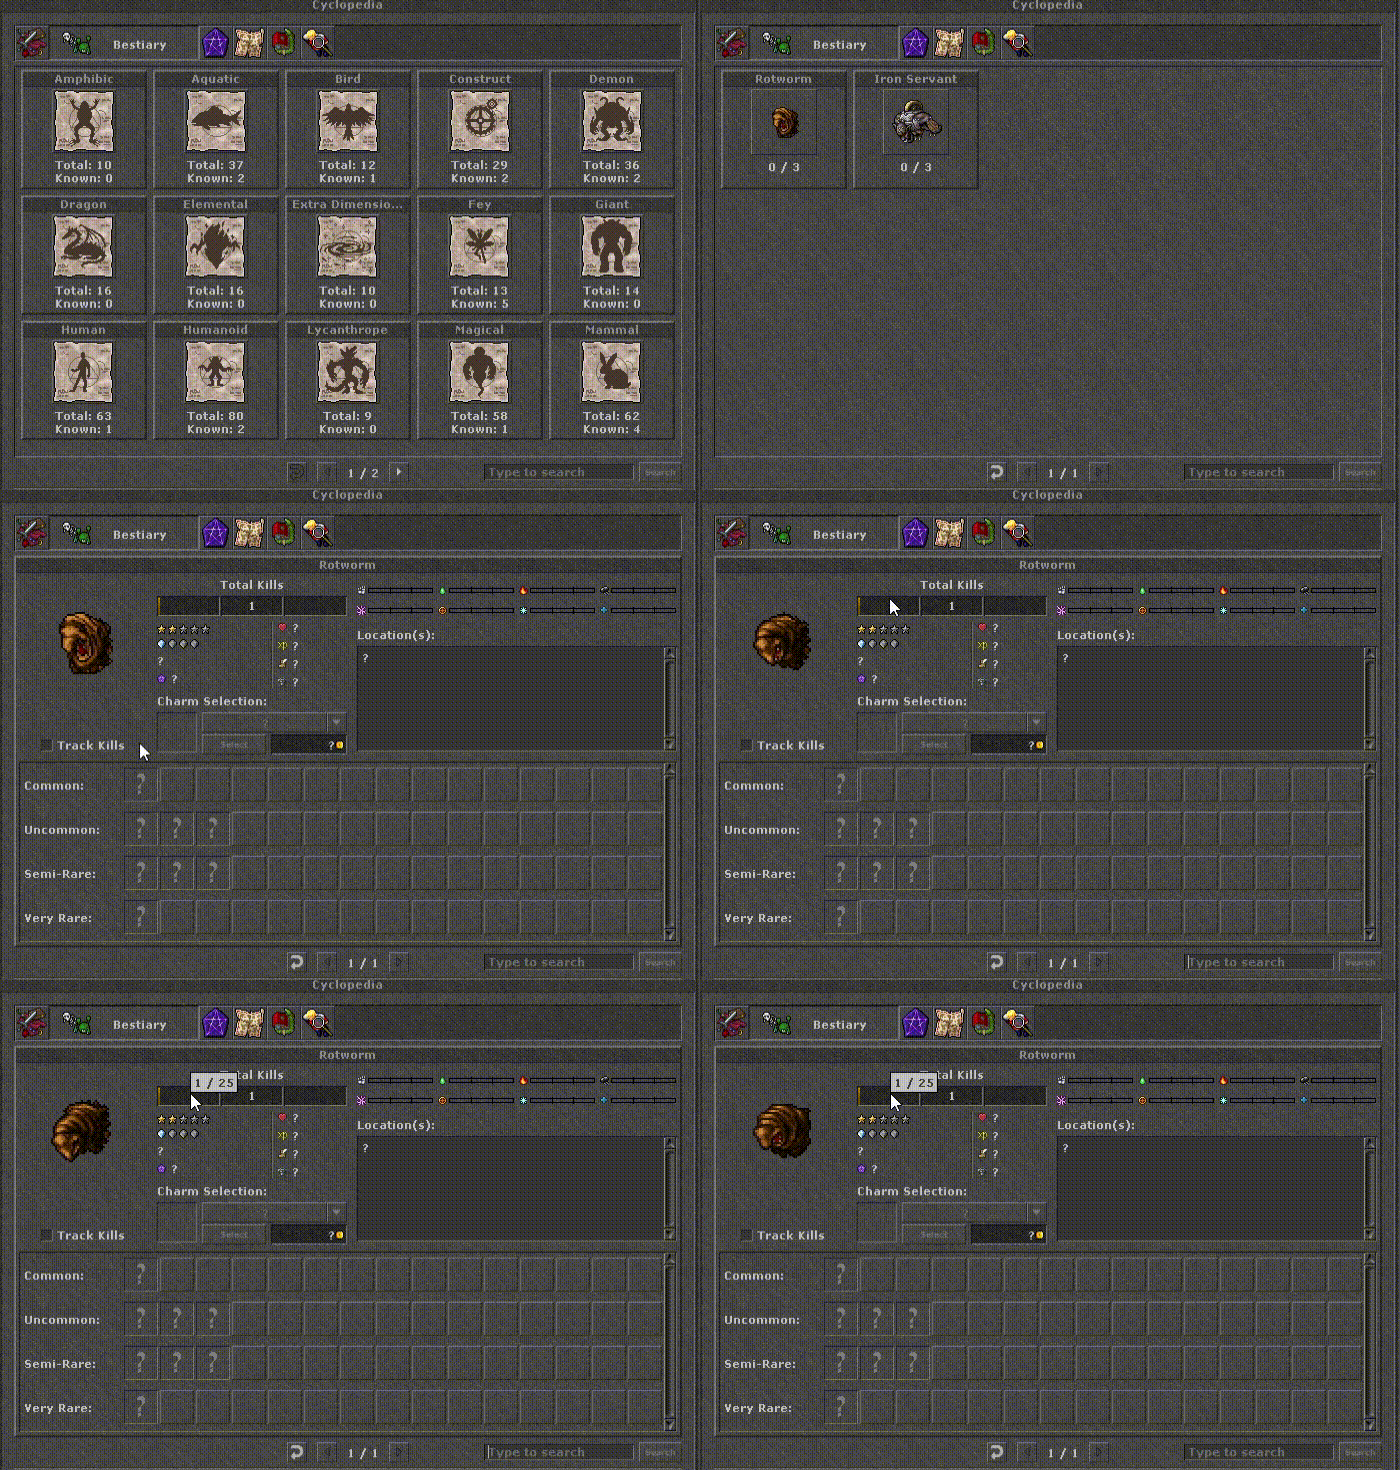
After killing the first creature, its Bestiary card is unlocked. It shows the animated appearance and the kill thresholds required to reveal further information. Example: to complete the first stage for Rotworm, you must kill 25 of them.
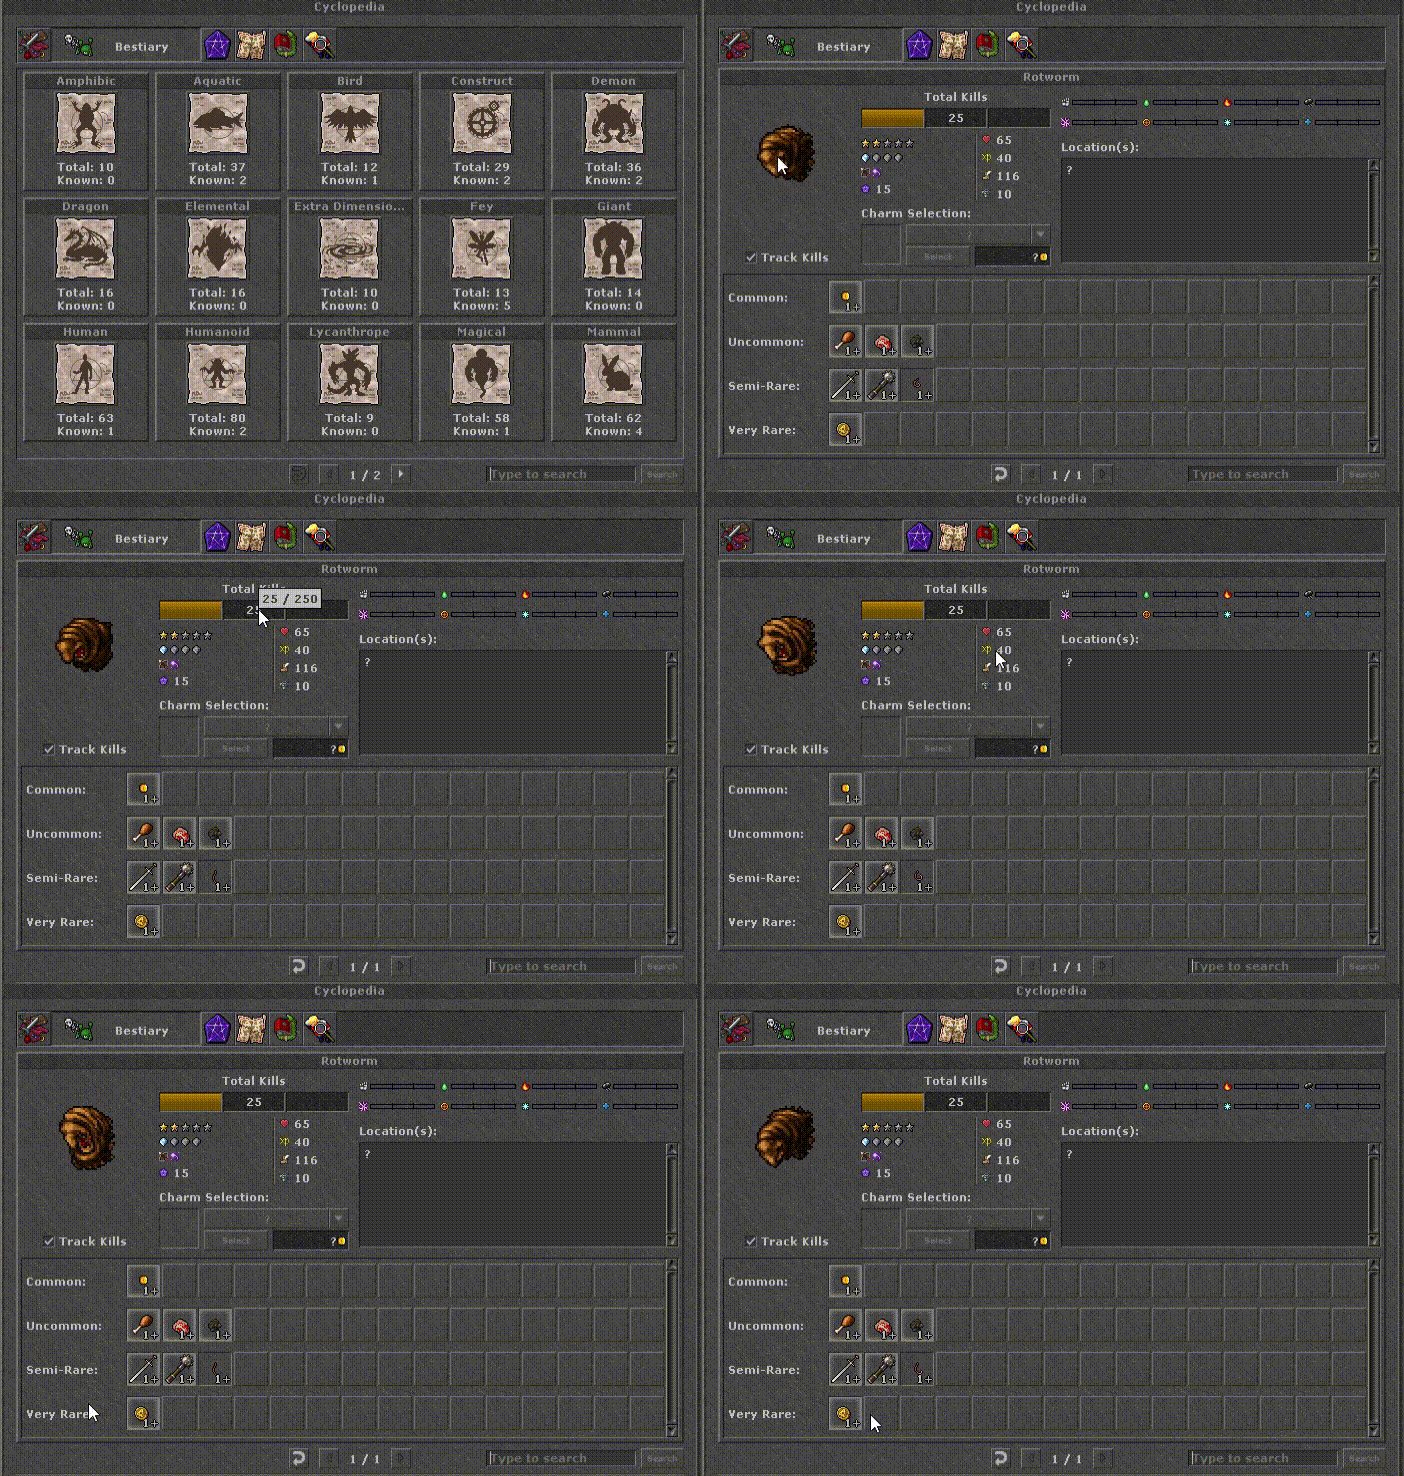
Completing the first stage reveals basic information: health, speed, experience, armor and the number of charm points awarded for completing all three stages. Categorized loot is also shown. Example: Rotworm's second stage requires 250 total kills.
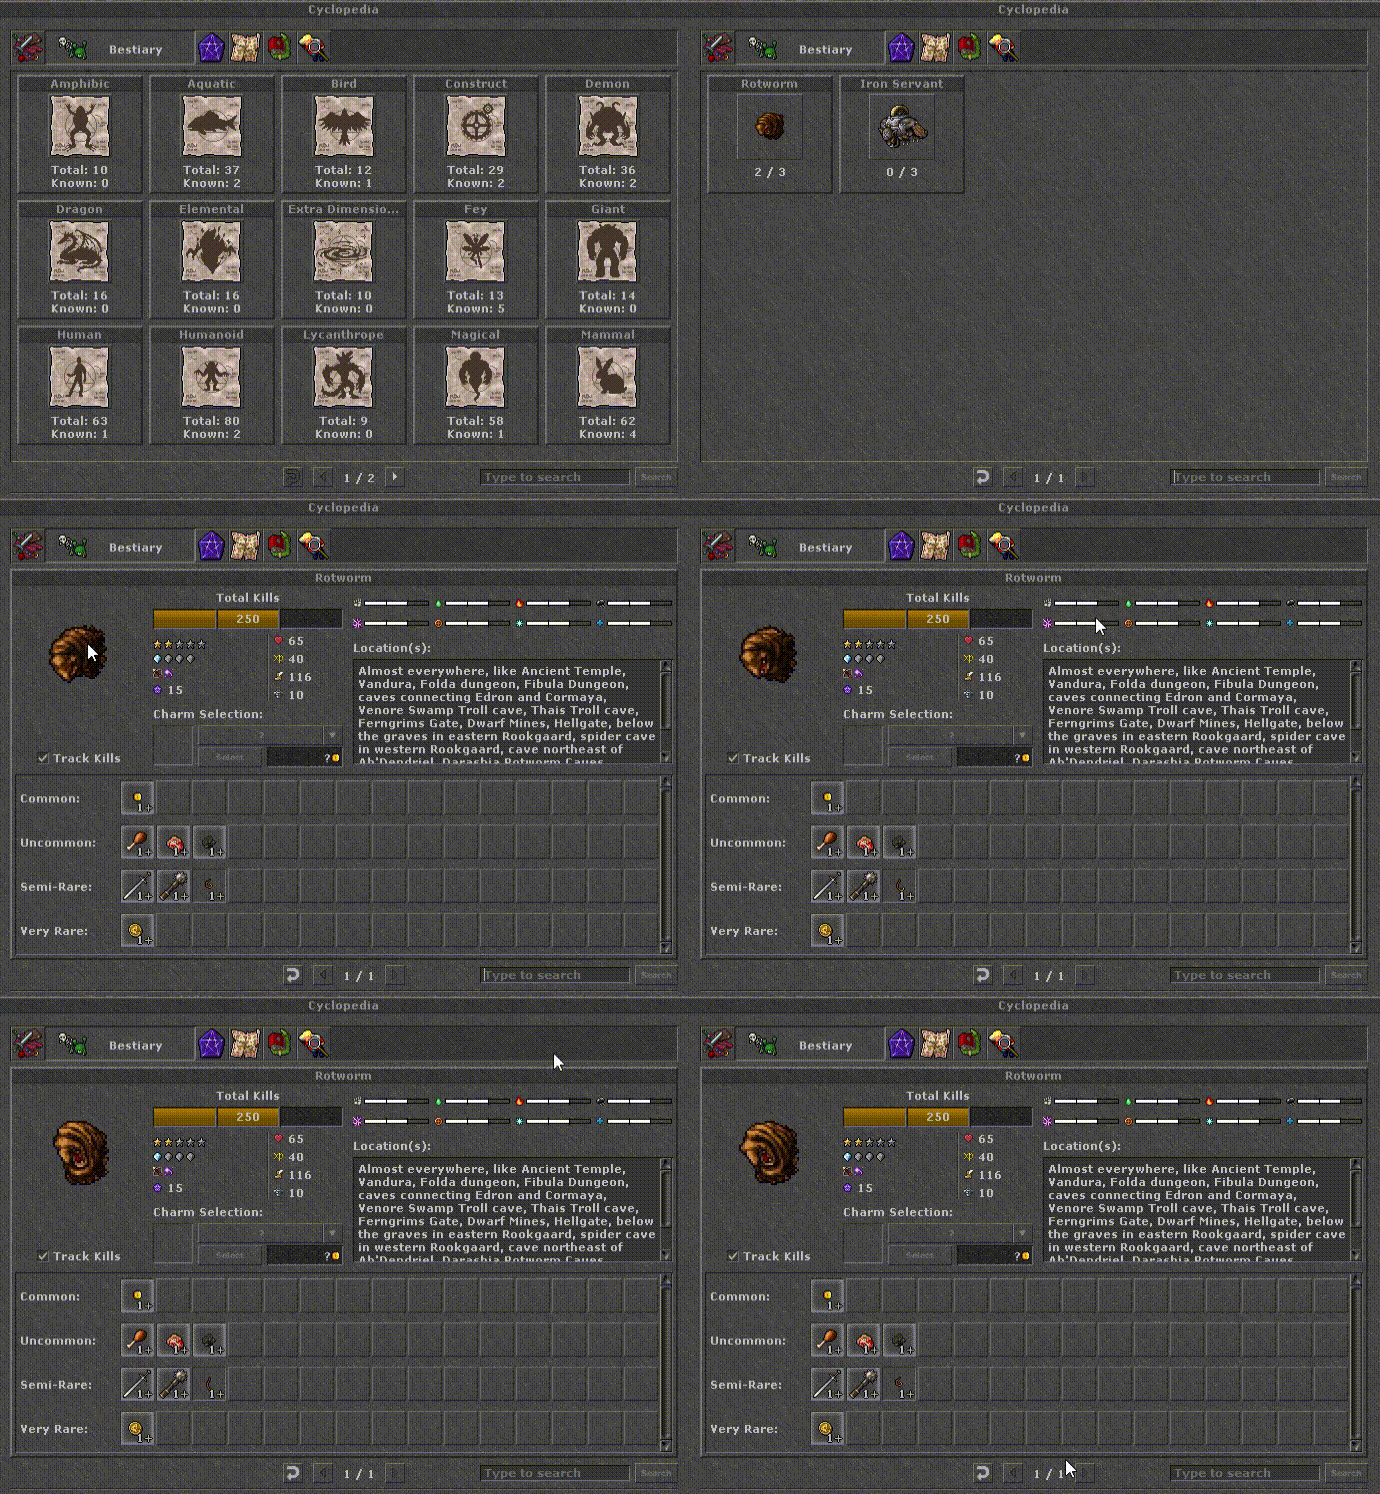
Completing the second stage reveals the monster's elemental sensitivities and a location description, which may not always match the Giveria map. Example: Rotworm's final stage requires 500 total kills.
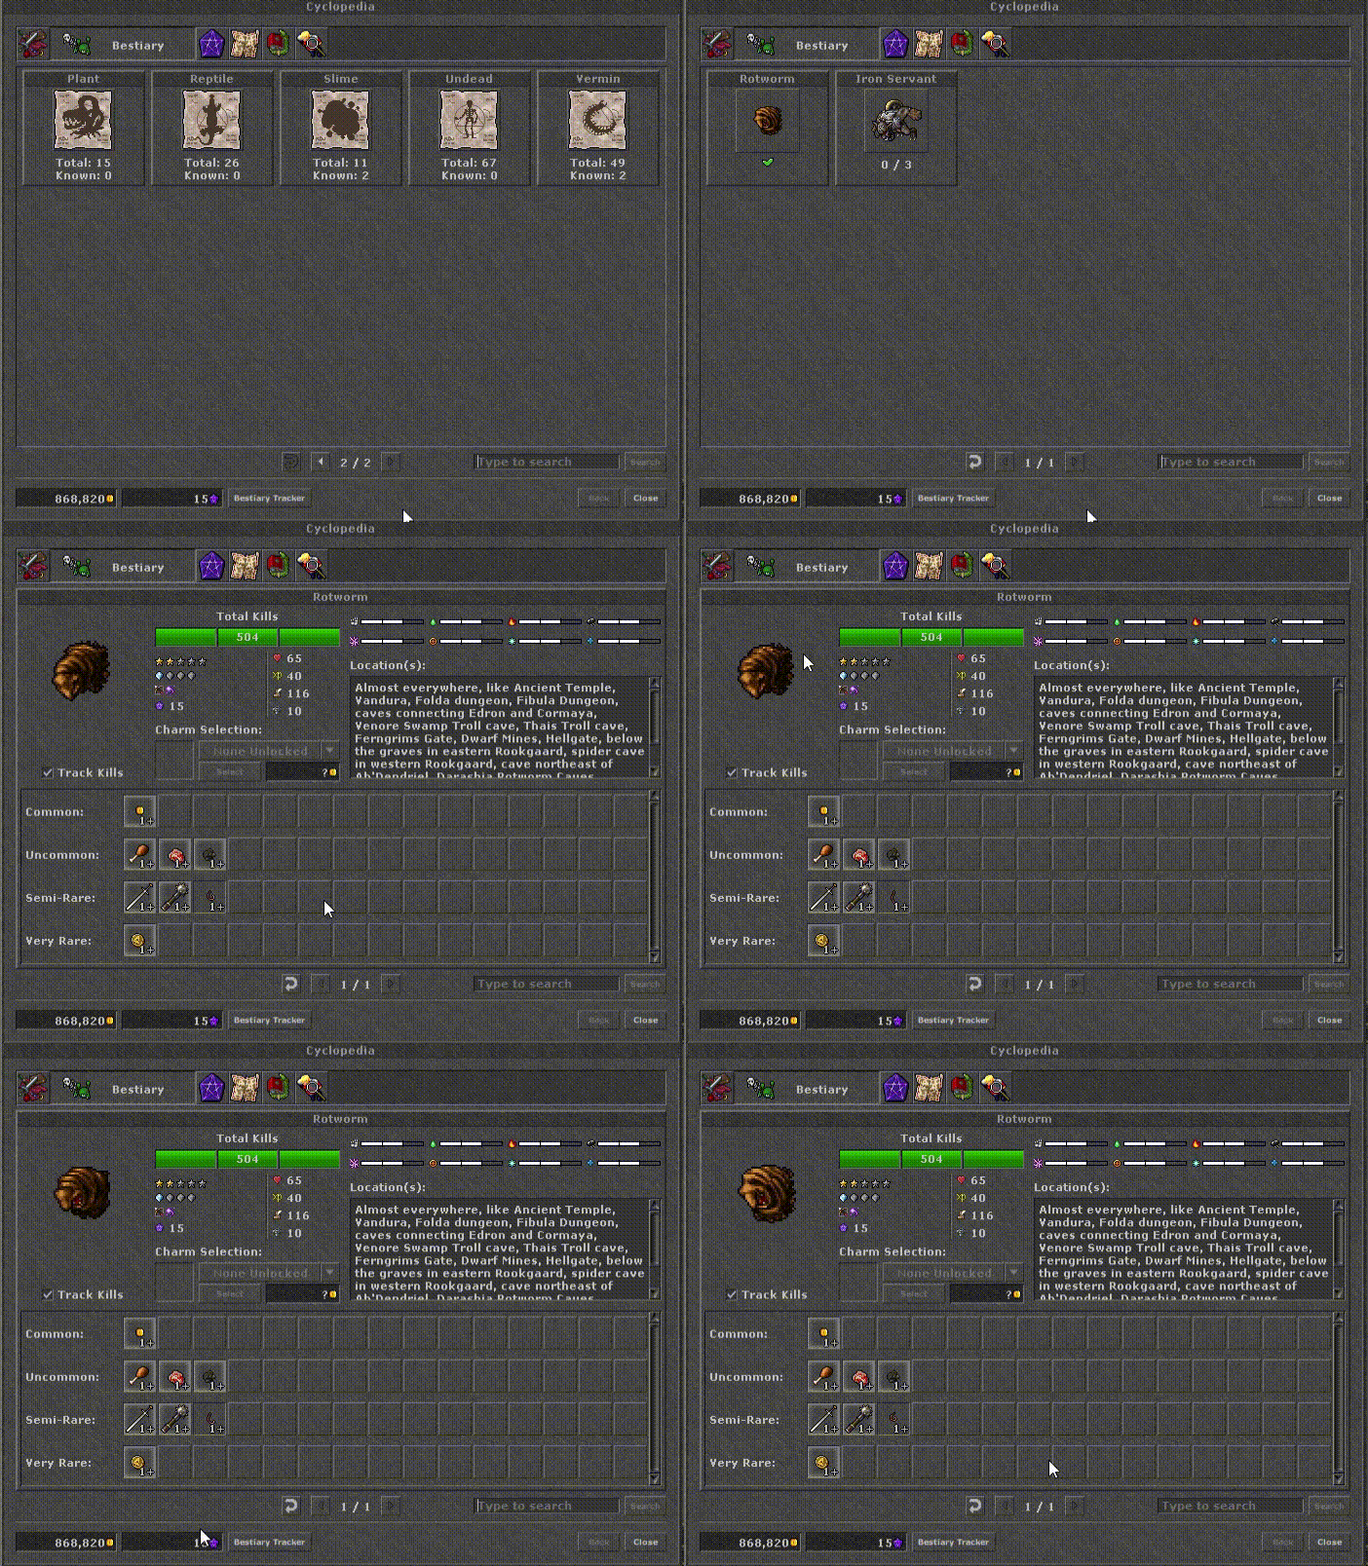
Final stage — after killing all required monsters, you receive charm points. Unlike in the original Tibia, a very rare item does not need to be looted for it to appear in the Bestiary.
Easy Charm Points
The following monsters require only a few kills and award plenty of charm points. Each one links to its full Giveriopedia Bestiary entry.

Kills required: 5 · Charm points: 50
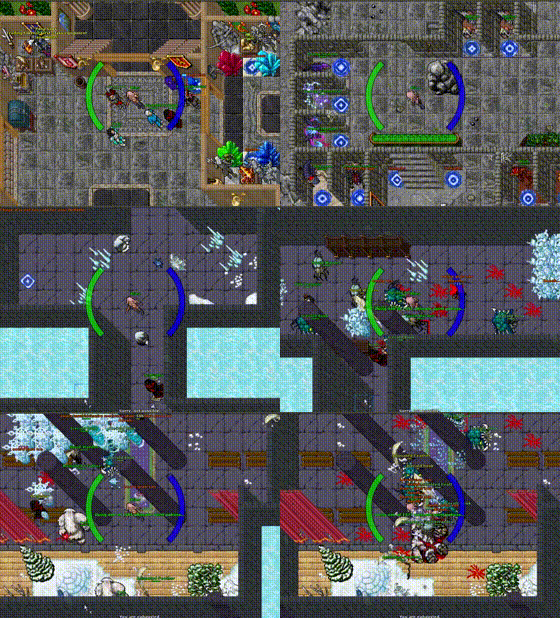
- [ ✧ ] Use the middle of the three Frost Dragon teleports in the ICE section. After entering, head northeast to the stairs leading up, take the stairs down one floor, then go upstairs again. On the right you will find another staircase with the monster you are looking for. Yeti has a very long respawn time.
- [ ✧ ] Use the right Squid Warden teleport in the ICE section. The target monster respawns faster here than in the previous location. After entering, head south, go downstairs, turn left, enter the first corridor and continue downward. A GIF showing the route is provided below.

Kills required: 5 · Charm points: 50
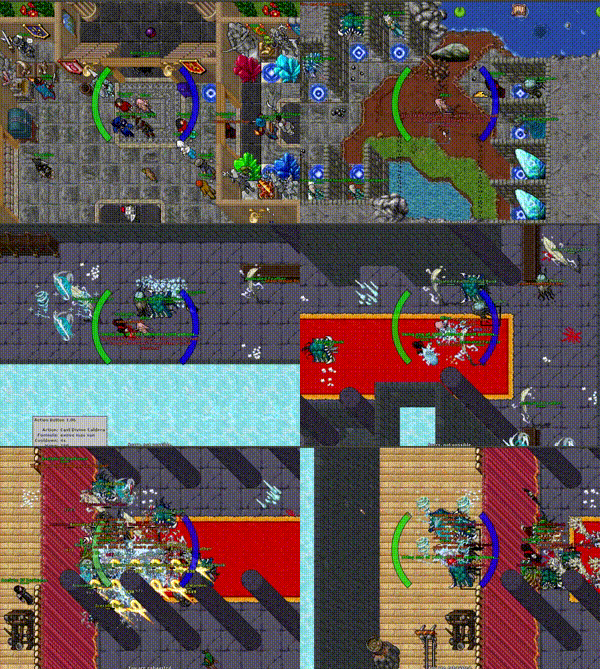
- [ ✧ ] Use the right Squid Warden teleport in the ICE section. After entering, head north, go downstairs, continue all the way left, turn into the first corridor and go left. The monsters are behind the curtain. A GIF showing the route is provided below.

Kills required: 5 · Charm points: 50
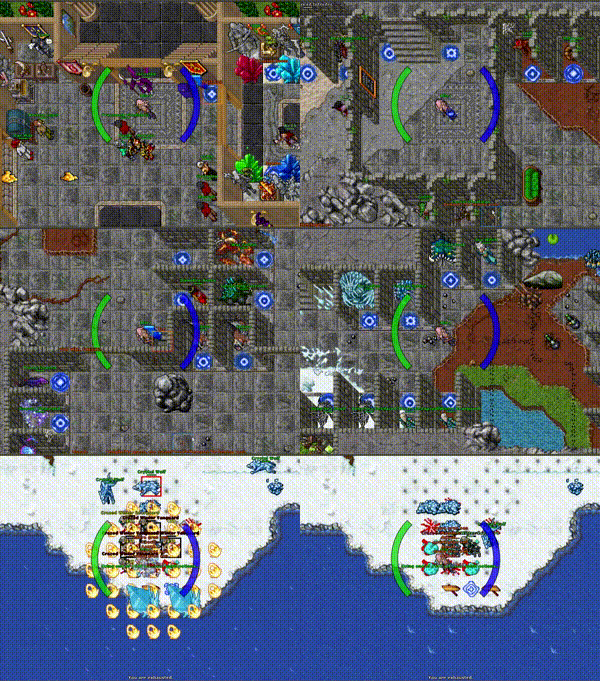
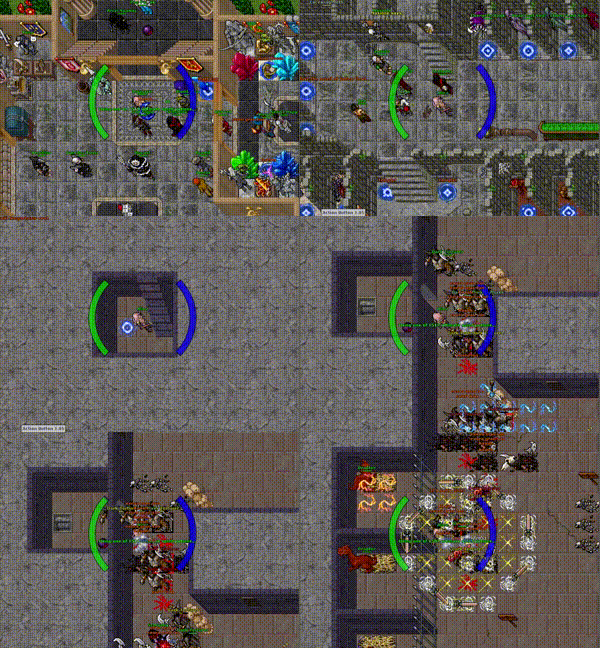
- [ ✧ ] Use the right Crazed Winter Rearguard teleport in the ICE section. You will see them immediately by the hunting-ground exit. They are located around the castle straight ahead. A GIF showing the route is provided below.

Kills required: 5 · Charm points: 50
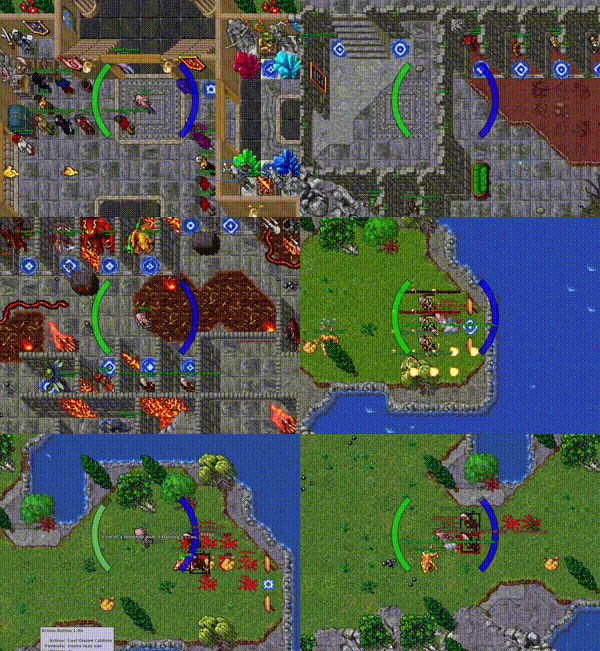
- [ ✧ ] Use the right Crazed Summer Rearguard teleport in the FIRE section. They will be immediately to the left after you enter, around the castle on that side. A GIF showing the route is provided below.

Kills required: 5 · Charm points: 50
- [ ✧ ] Use the Lizard High Guard teleport in the EARTH section. One creature can be found there and it has a long respawn time of roughly 30 minutes.
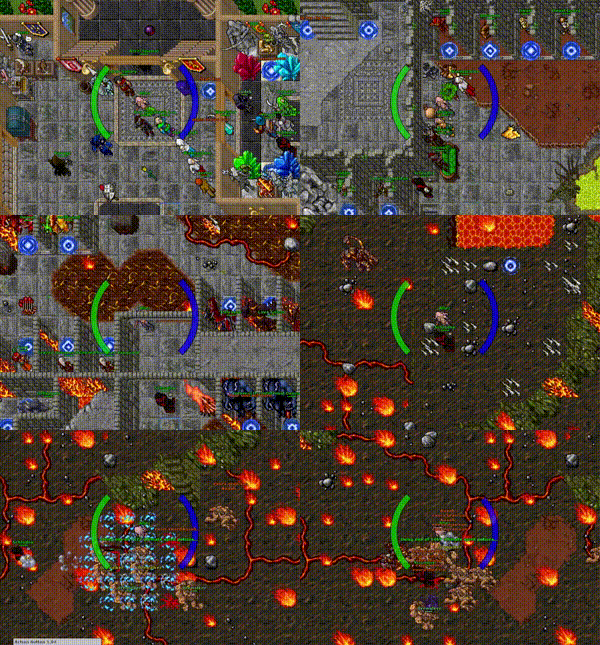
- [ ✧ ] Use the lower Dark Torturer teleport in the UNDEAD section. After entering, head south; the monsters are behind the bars. A GIF showing the route is provided below.

Kills required: 5 · Charm points: 50
- [ ✧ ] Use the Weeper teleport in the FIRE section. After entering, go downstairs to the lower floor and head left. A GIF showing the route is provided below.

Kills required: 5 · Charm points: 50
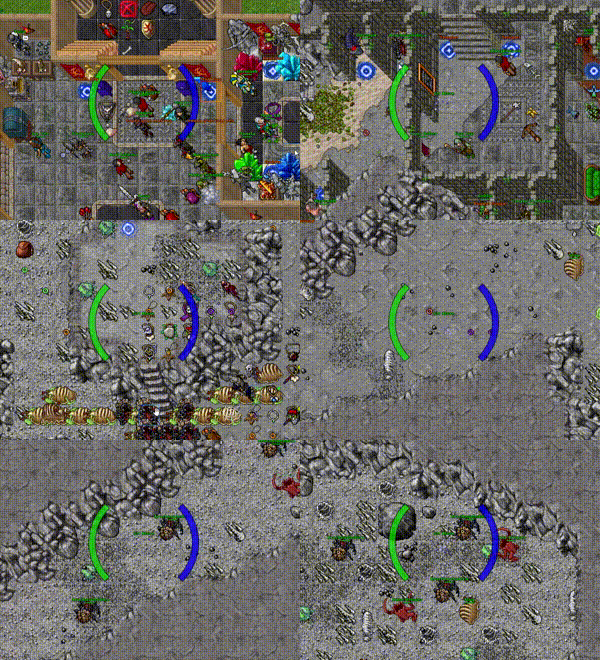
- [ ✧ ] Use the Arachnophobica teleport and go downstairs. Head south and turn into the first corridor on the right. The monsters are in the second branch leading north. A GIF showing the route is provided below.

Kills required: 5 · Charm points: 50
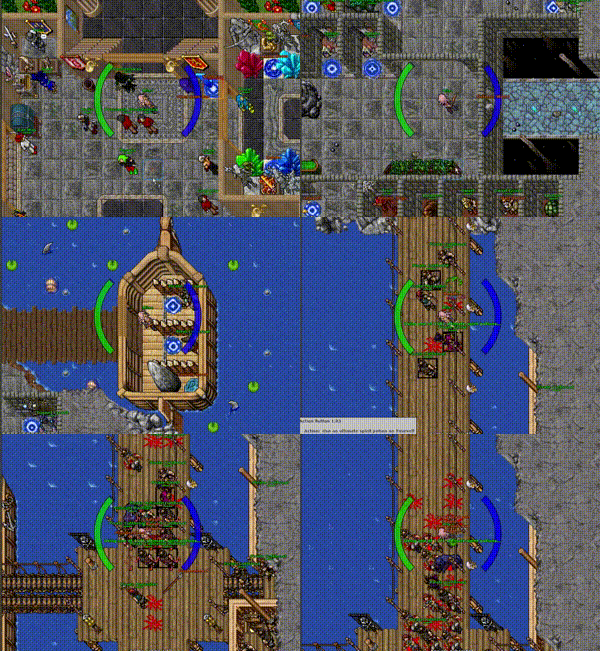
- [ ✧ ] Use the Pirate Buccaneer teleport located on the ship. Head north to encounter the first of these monsters. A GIF showing the route is provided below.
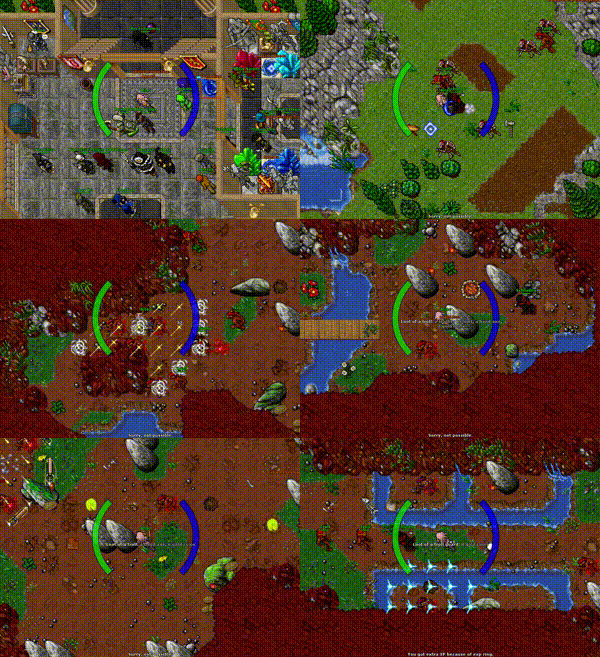

Kills required: 5 · Charm points: 50
- [ ✧ ] Use the right Troll teleport. Enter the cave on the right, which leads downward, head right across the footbridge and drop through the hole to the lower floor. Then go left. The monsters are on both sides of the two streams. A GIF showing the route is provided below.
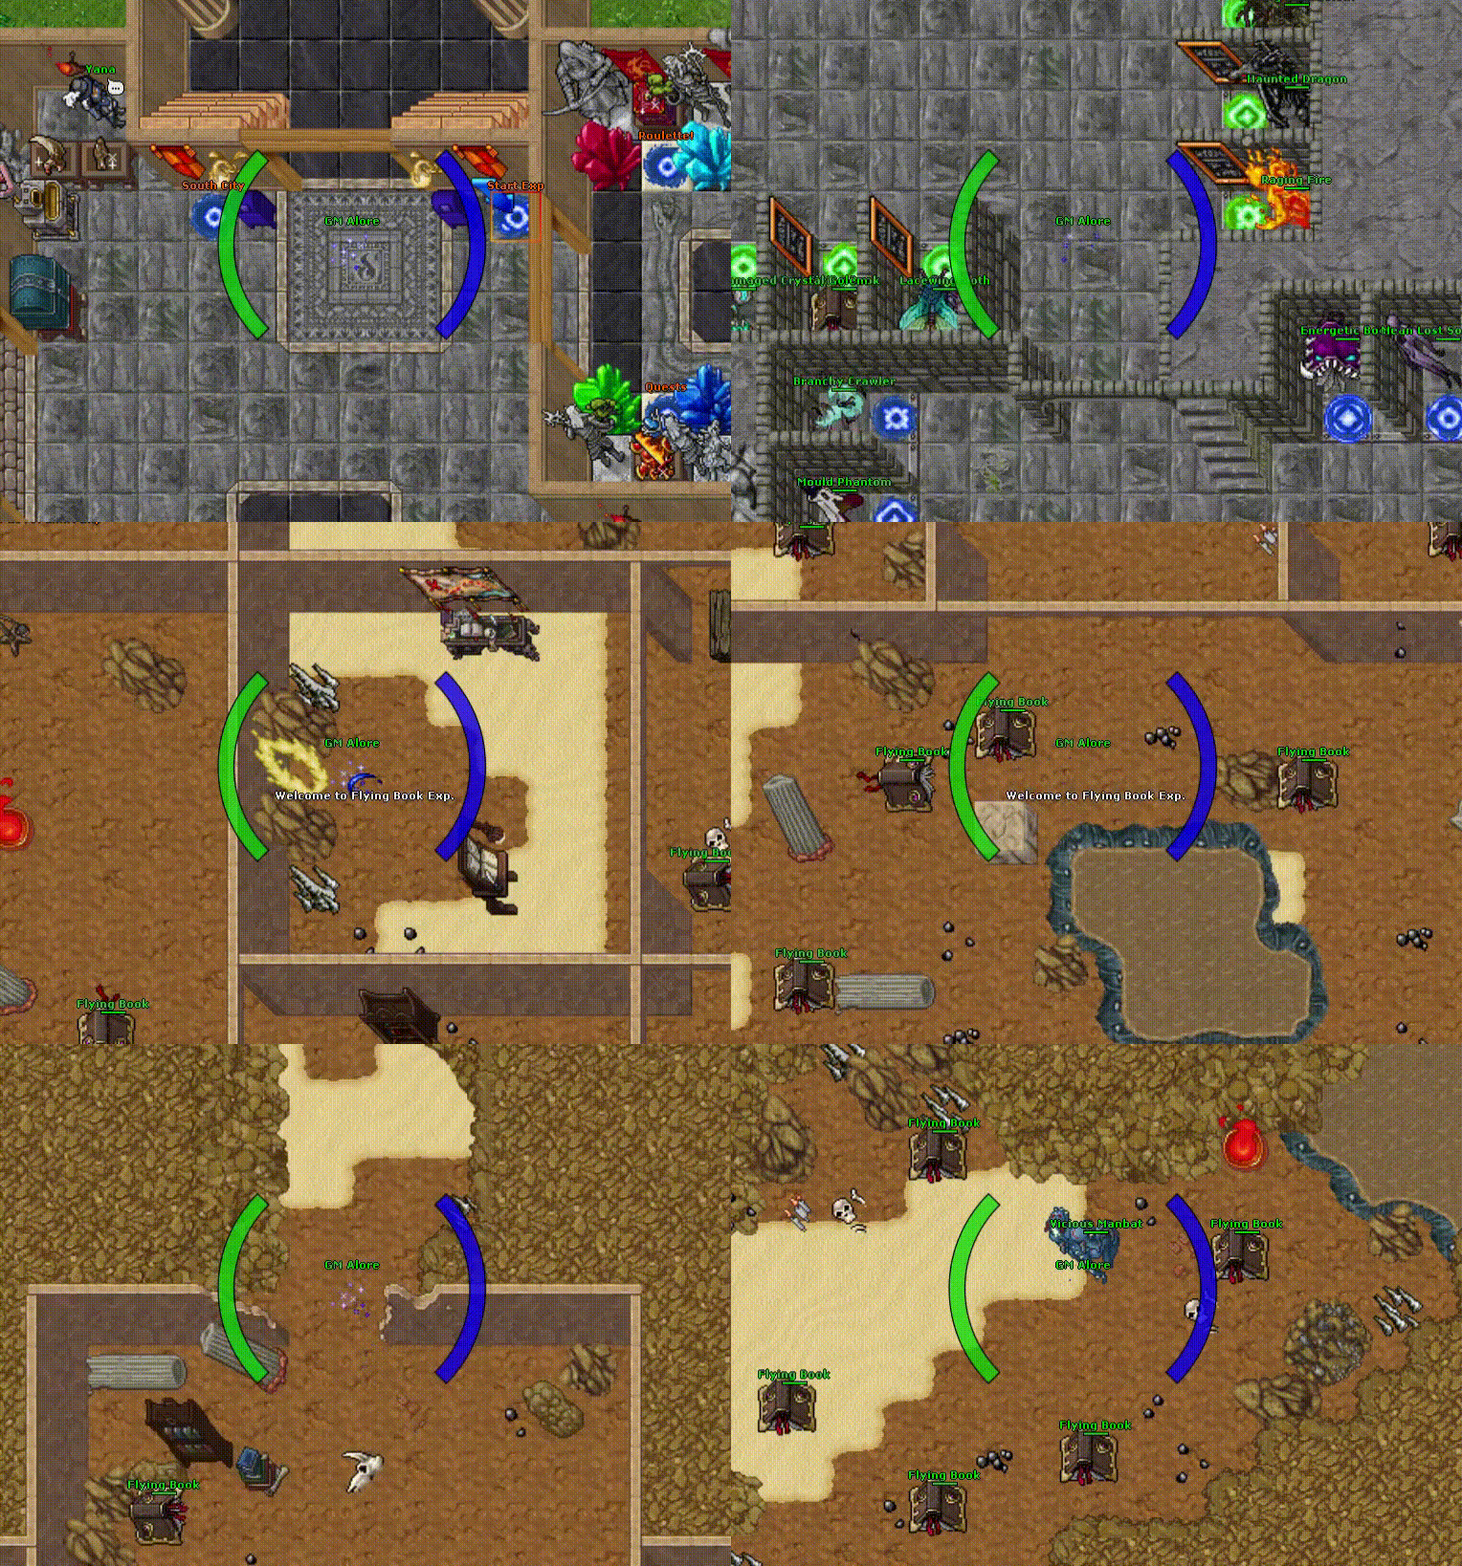

Kills required: 5 · Charm points: 50
- [ ✧ ] Use the Flying Book teleport in the Custom Monsters section. A single entry costs one Vampire Lord Token. Go upstairs and head north; one of the four target monsters is behind a gap in the wall. The others are behind openings on the eastern side of the map. A GIF showing the route is provided below.
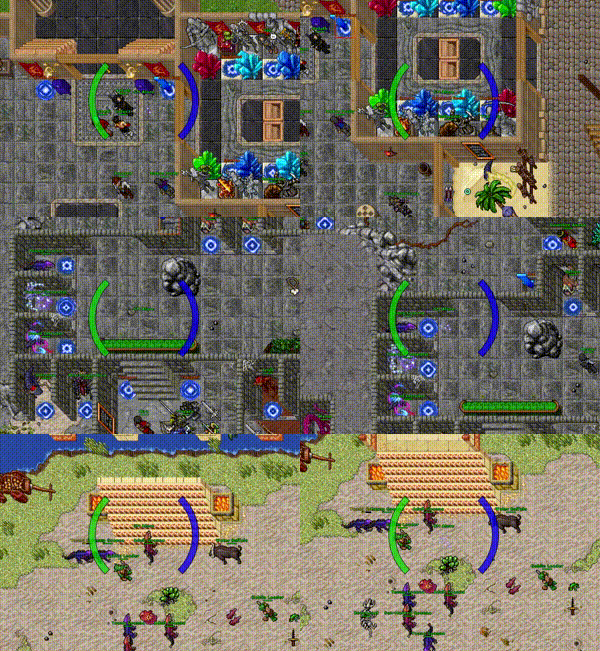

Kills required: 5 · Charm points: 30
- [ ✧ ] Use the Young Goanna teleport. Goblin Leader is immediately visible after you go downstairs. A GIF showing the route is provided below.

Kills required: 5 · Charm points: 30
- [ ✧ ] Use the Young Goanna teleport. Water Buffalo is immediately visible after you go downstairs. A GIF showing the route is provided below.
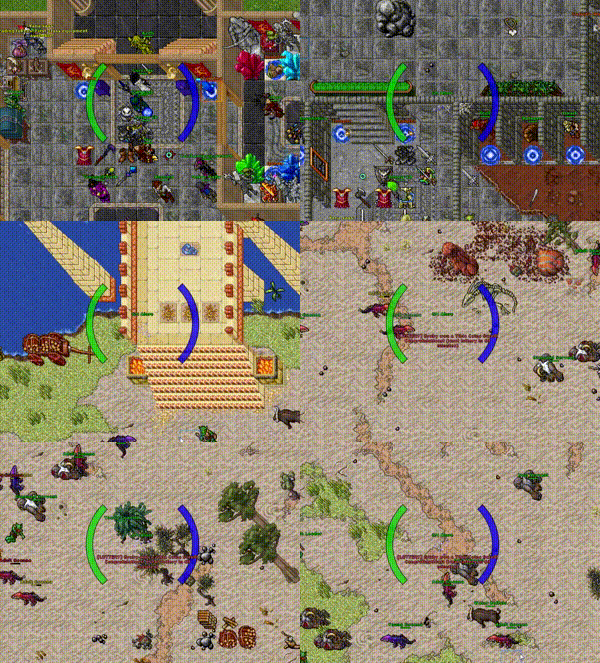

Kills required: 5 · Charm points: 30
- [ ✧ ] Use the Young Goanna teleport. Go to the stairs, descend to the lower floor and head south. A GIF showing the route is provided below.
- [ ✧ ] Teleport Iron Servant .
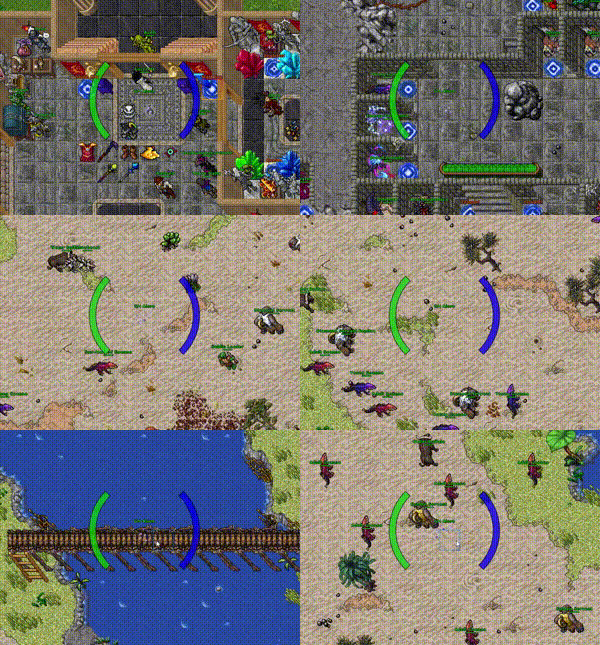

Kills required: 5 · Charm points: 50
- [ ✧ ] Use the Young Goanna teleport. Go downstairs, head west to the footbridge, then take the nearby stairs up. Continue down the next staircase to the lower level where the target monster can be found. A GIF showing the route is provided below.
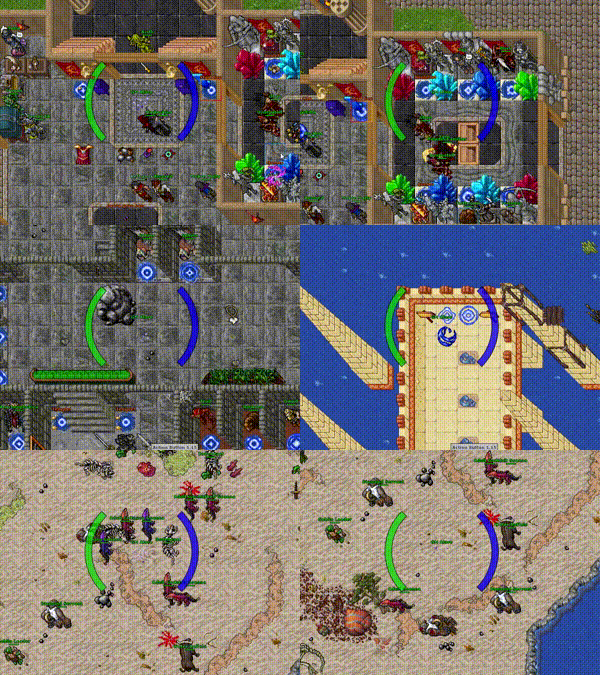

Kills required: 5 · Charm points: 50
- [ ✧ ] Use the Young Goanna teleport. After going downstairs to the lower floor, head south. A GIF showing the route is provided below.
Recommended Charms
When choosing an offensive charm, consider the sensitivities of the monsters you hunt or plan to hunt.
- Druids: the recommended first charm is
 Freeze; the next choice can be, for example,
 Curse.
- Knights: solo on vocation hunting grounds —
 Wound; for team hunts in post-Katameron areas — Freeze. Next choose the charm not selected earlier, or Curse.
- Paladins: solo —
 Divine Wrath; for team hunts — Freeze. Next choice: Curse or Wound.
- Sorcerers: solo —
 Enflame; for team hunts — Freeze. Next choose the charm not selected earlier, or Curse.
Charm list
How is damage from offensive charms calculated?
The base damage value is 35% of the monster's maximum HP, capped at player level × 2.
Example:
- The player is level 2000.
- The player-level cap is 2000 × 2 = 4000 damage.
- The monster has 100,000 HP.
- 35% of the monster's HP is 35,000 damage.
The charm will not deal 35,000 damage because the player-level cap applies. The base damage will therefore be 4000.
The damage is then modified by the monster's resistance or sensitivity to the relevant element. If a monster is sensitive to fire, Enflame deals more damage. If it is resistant to fire, Enflame deals less damage.
| Charm | Description | Chance | Cost |
|---|---|---|---|
 Cripple | Chance to paralyze the monster for 10 seconds. | 6%/9%/12% | 100/150/225 |
| Curse | Chance to deal a single burst of death damage. Base damage is 35% of the monster's maximum HP, capped at player level × 2. Damage is modified by the monster's death resistance or sensitivity. | 24%/36%/50% | 360/540/1440 |
| Divine Wrath | Chance to deal a single burst of holy damage. Base damage is 35% of the monster's maximum HP, capped at player level × 2. Damage is modified by the monster's holy resistance or sensitivity. | 24%/36%/50% | 600/900/2400 |
| Enflame | Chance to deal a single burst of fire damage. Base damage is 35% of the monster's maximum HP, capped at player level × 2. Damage is modified by the monster's fire resistance or sensitivity. | 24%/36%/50% | 400/600/1600 |
| Freeze | Chance to deal a single burst of ice damage. Base damage is 35% of the monster's maximum HP, capped at player level × 2. Damage is modified by the monster's ice resistance or sensitivity. | 24%/36%/50% | 320/480/1280 |
 Poison | Chance to deal a single burst of earth damage. Base damage is 35% of the monster's maximum HP, capped at player level × 2. Damage is modified by the monster's earth resistance or sensitivity. | 24%/36%/50% | 240/360/960 |
| Wound | Chance to deal a single burst of physical damage. Base damage is 35% of the monster’s maximum HP, capped at player level × 2. Damage is modified by the monster’s physical resistance. | 24%/36%/50% | 240/360/960 |
 Zap | Chance to deal a single burst of energy damage. Base damage is 35% of the monster's maximum HP, capped at player level × 2. Damage is modified by the monster's energy resistance or sensitivity. | 24%/36%/50% | 320/480/1280 |
 Carnage | When a monster dies, there is a chance to deal physical damage to nearby monsters. Base damage is 15% of the defeated monster’s maximum HP, capped at player level × 6. | 10%/20%/22% | 600/900/2400 |
 Overpower | Chance to perform an additional attack that deals physical damage equal to 5% of the player’s maximum health. | 8%/12%/15% | 600/900/2400 |
 Overflux | Chance to perform an additional attack that deals physical damage equal to 2.5% of the player’s maximum mana. | 8%/12%/15% | 600/900/2400 |
| Charm | Description | Chance | Cost |
|---|---|---|---|
 Adrenaline Burst | Chance for an adrenaline rush after taking damage, increasing movement speed for the next 10 seconds. | 9%/12%/16% | 100/150/225 |
 Cleanse | Chance to cleanse one negative effect after taking damage and temporarily become immune to that effect. | 9%/12%/16% | 100/150/225 |
 Dodge | Chance to avoid incoming damage. | 8%/12%/15% | 240/360/960 |
 Numb | Chance to numb the attacker after taking damage, paralyzing the monster for 10 seconds. | 9%/12%/16% | 100/150/225 |
 Parry | Chance to reflect incoming damage. | 8%/12%/15% | 400/600/1600 |
| Charm | Description | Chance | Cost |
|---|---|---|---|
 Bless | Blesses the character and reduces experience and skill loss on death by 10% when the character is killed by the selected monster. | 9%/12%/16% | 100/150/225 |
 Gut | The monster drops 20% more creature products. | 9%/12%/16% | 100/150/225 |
 Low Blow | Increases critical hit chance by the stated percentage for weapons with critical strike. | 8%/12%/15% | 800/1200/4000 |
 Savage Blow | Dodaje wskazany procent do dodatkowych krytycznych obrażeń dla broni z uderzeniem krytycznym. | 5%/10%/20% | 800/1200/4000 |
 Fatal Hold | Prevents the monster from fleeing due to low health for 30 seconds. | 30%/45%/60% | 100/150/225 |
 Scavenge | Increases the chance of successfully skinning the monster. | 60%/90%/120% | 100/150/225 |
 Vampiric Embrace | Adds 4% life leech when using an item with a life leech imbuement (vampirism). | 8%/12%/15% | 100/150/225 |
 Void’s Call | Adds 2% mana leech when using an item with a mana leech imbuement (void). | 8%/12%/17% | 100/150/225 |
 Void Inversion | Reverses mana drain, granting mana instead of removing it. | 20%/30%/40% | 100/150/225 |
Globally active charms
Some passive charms work globally after being assigned to any monster. The player must have the charm unlocked and assigned, but the bonus then applies to the entire character.
Globally active passive charms:
- Low Blow
- Savage Blow
- Vampiric Embrace
- Void’s Call
- Gut
Other passive charms may require a specific assigned monster or a specific trigger condition.